
 Barebells Chocolate Dough Protein Bar
Nutrition Facts
Per 55g serving
% Daily Value based on a 2000 kcal diet
Calories
200 kcal
10% DV
Total Fat
7.0g
11% DV
Monounsaturated Fat2.5g
Polyunsaturated Fat0.5g
Saturated Fat4.0g
Total Carbohydrate
18.0g
6% DV
Fiber3.0g
Starch13.0g
Sugars2.0g
Protein
20.0g
40% DV
Animal Protein20.0g
About
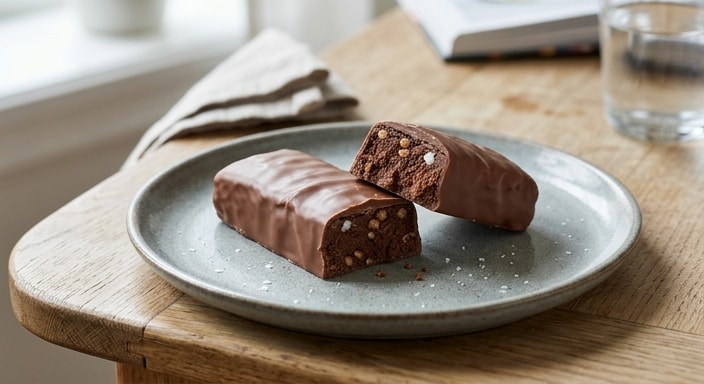
Chocolate-coated high-protein bar with moderate carbohydrates and relatively low sugar, designed as a snack or post-workout option.
Ingredients
Vitamins & Minerals
Vitamins
| Nutrient | Amount | DV% | Half-life |
|---|---|---|---|
| Choline | 18.0mg | 3% | |
| Vitamin A | 40.0mcg | 4% | |
| Vitamin B1 | 0.1mg | 4% | |
| Vitamin B12 | 0.3mcg | 13% | |
| Vitamin B2 | 0.2mg | 15% | |
| Vitamin B3 | 0.6mg | 4% | |
| Vitamin B5 | 0.4mg | 8% | |
| Vitamin B6 | 0.1mg | 3% | |
| Vitamin B7 | 2.0mcg | 7% | |
| Vitamin B9 | 12.0mcg | 3% | |
| Vitamin D | 0.5mcg | 3% | |
| Vitamin E | 0.6mg | 4% | |
| Vitamin K | 2.0mcg | 2% |
Minerals
| Nutrient | Amount | DV% | Half-life |
|---|---|---|---|
| Calcium | 180.0mg | 18% | |
| Copper | 90.0mcg | 10% | |
| Iron | 1.2mg | 7% | |
| Magnesium | 35.0mg | 8% | |
| Phosphorus | 140.0mg | 20% | |
| Potassium | 160.0mg | 3% | |
| Selenium | 4.0mcg | 7% | |
| Sodium | 170.0mg | 7% | |
| Zinc | 1.1mg | 10% |
Barebells Chocolate Dough Protein Bar
Headnote
This bar is built on contrast: a supple, cocoa-rich center set beneath a clean chocolate shell. Its appeal lies in restraint, with sweetness held in check and texture sharpened by crisp inclusions. The result is compact, polished, and direct, with the protein structure carrying the bar rather than disguising it.
Recipe essentials
Equipment
Ingredients
Cocoa protein center
Chocolate coating
Method
Plating and serving
Serve the bar whole on a narrow plate or parchment-lined tray. Present it with the seam side down and the coating undisturbed, so the clean lines of the bar remain visible. The proper finish is compact, glossy, and exact.
Professional notes
Gluten-freeBalanced
More dishes from Sweden
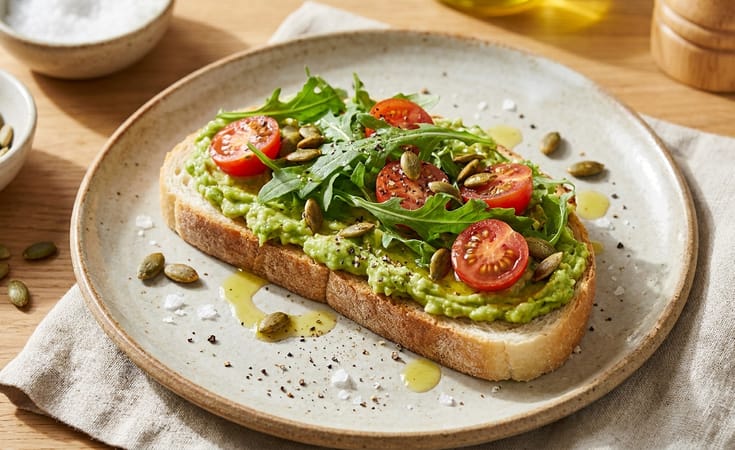
Avocado Toast
355 kcal
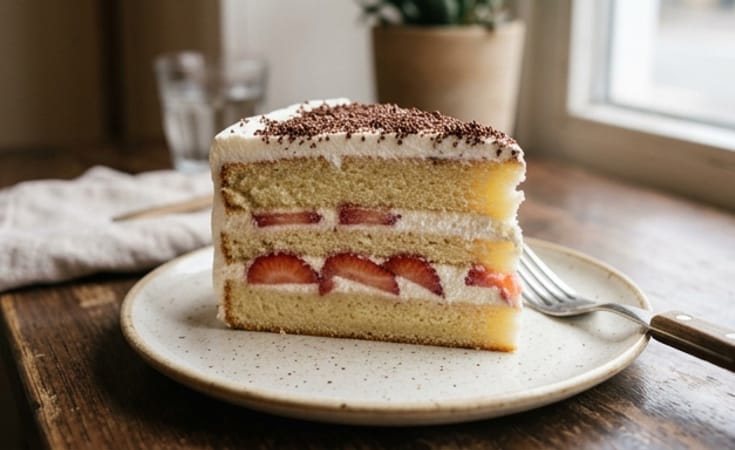
Vanilla Layer Cake with Strawberry, Whipped Cream, and Chocolate Sprinkles
372 kcal
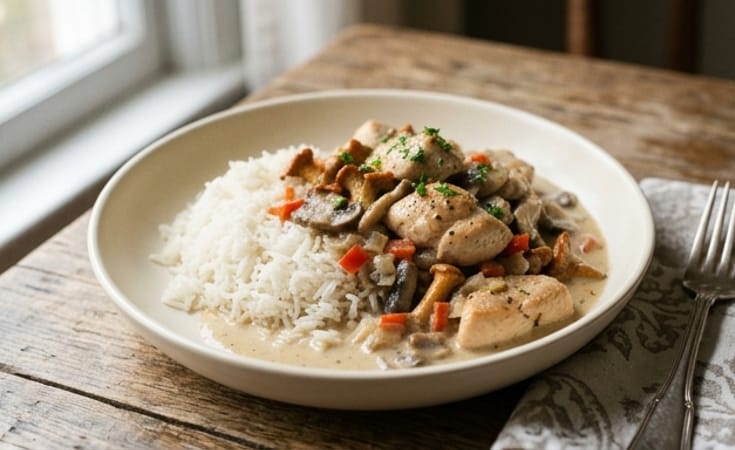
Chicken and Wild Mushroom Velouté with Basmati Rice
470 kcal
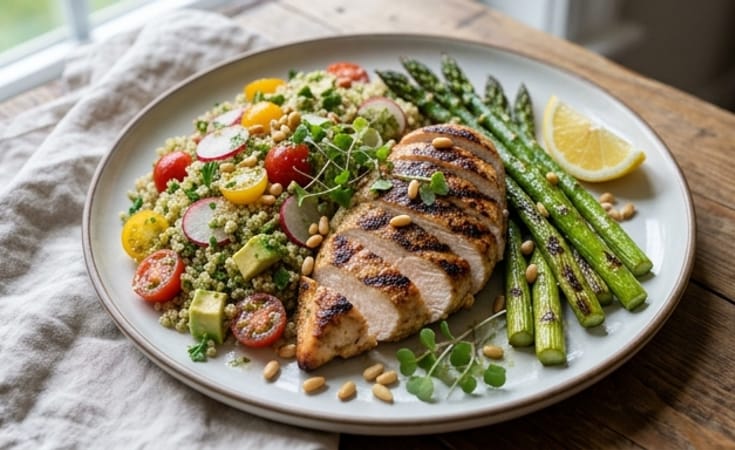
Grilled Chicken Breast with Quinoa, Asparagus, Basil Pesto, and Lemon
655 kcal
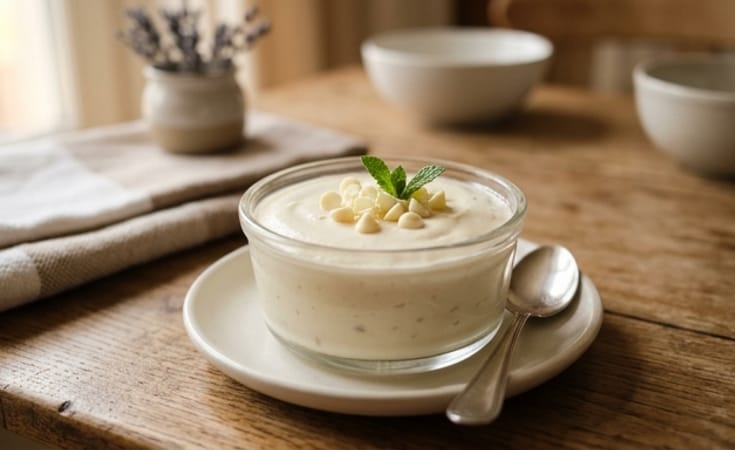
White Chocolate Chip Mousse
970 kcal
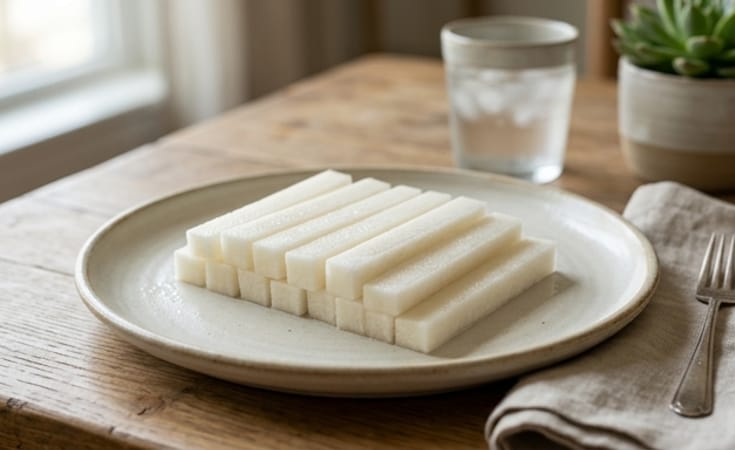
Chilled Jicama Sticks with Crisp Natural Sweetness
68 kcal